How to Provide Student Access Through a Parent Account

Easily Set Up Student Access for Learning

Enable Student Access Through a Parent Account

This guide walks parents through the process of granting their child access to a student account on Connect Education. From logging in and selecting the child’s profile to sending the activation link and setting a password, this step-by-step guide ensures a smooth setup so students can start learning quickly.

Step 1: Log in to a Parent Account

Log in to a Parent account on the Connect Education Platform.

Step 2: Navigate to My Students

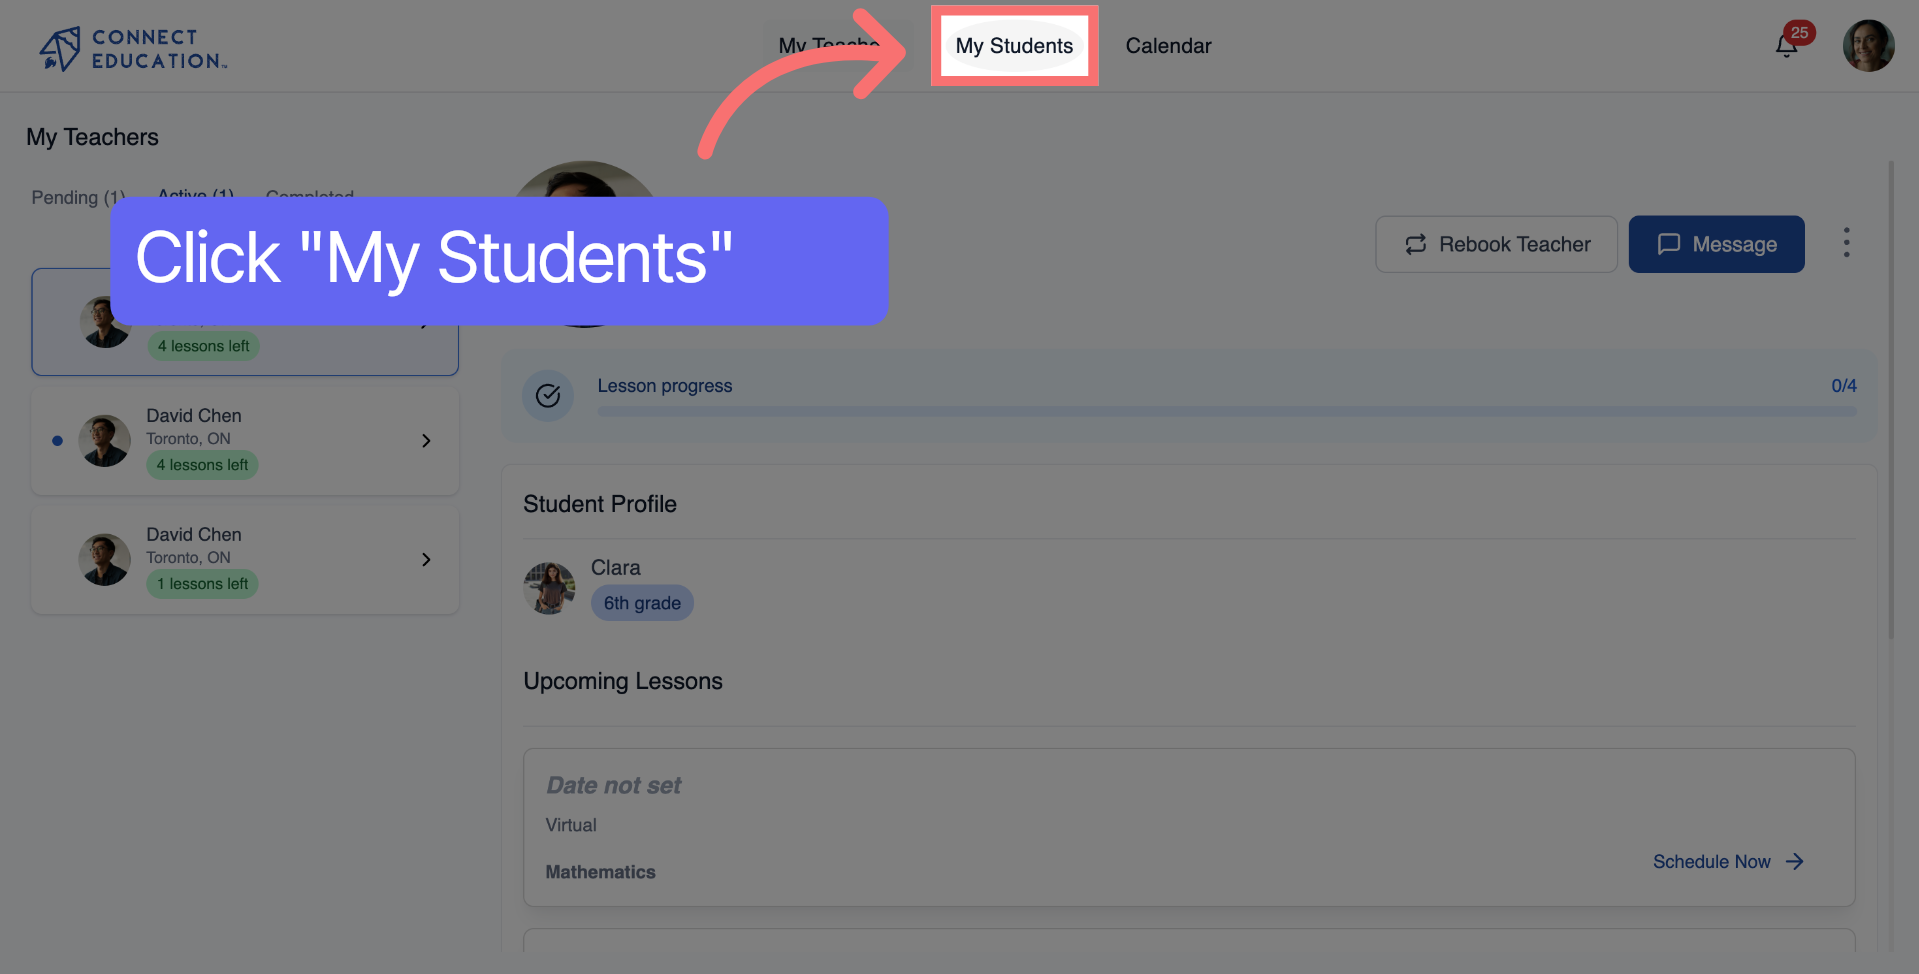
Click the My Students section to view your list of students associated with your account.

Step 3: Select Student Profile

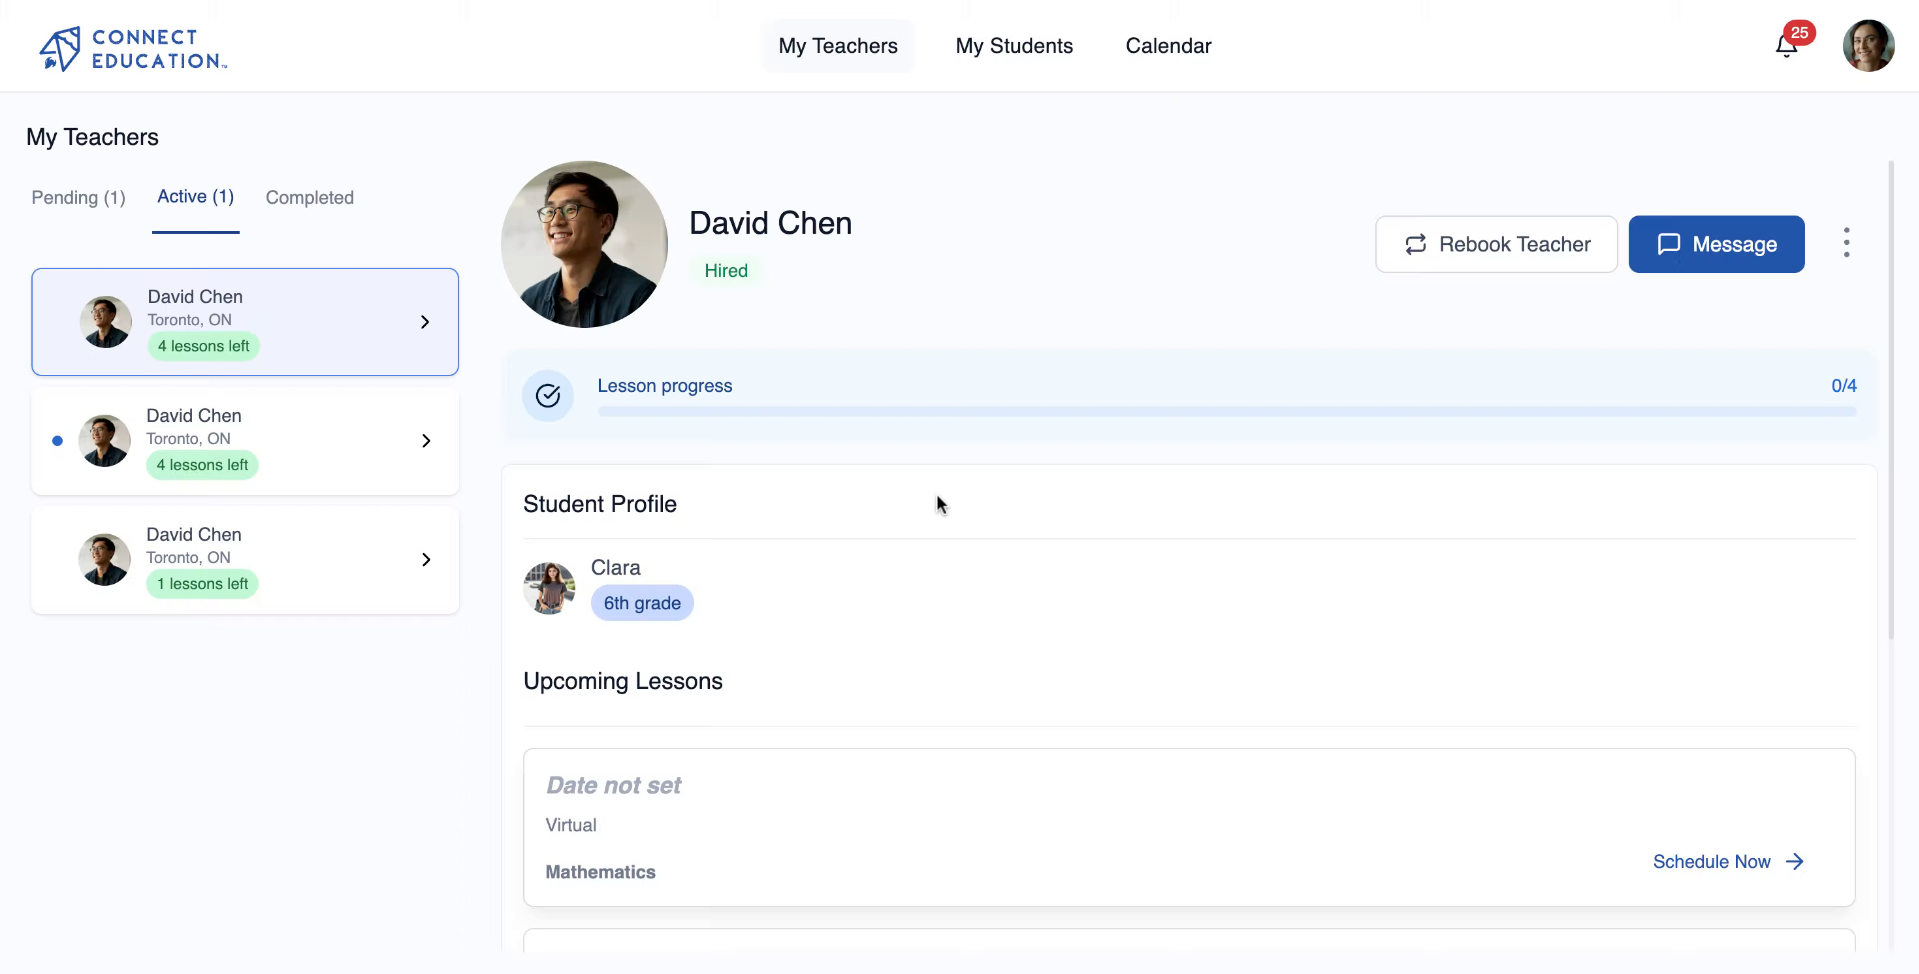
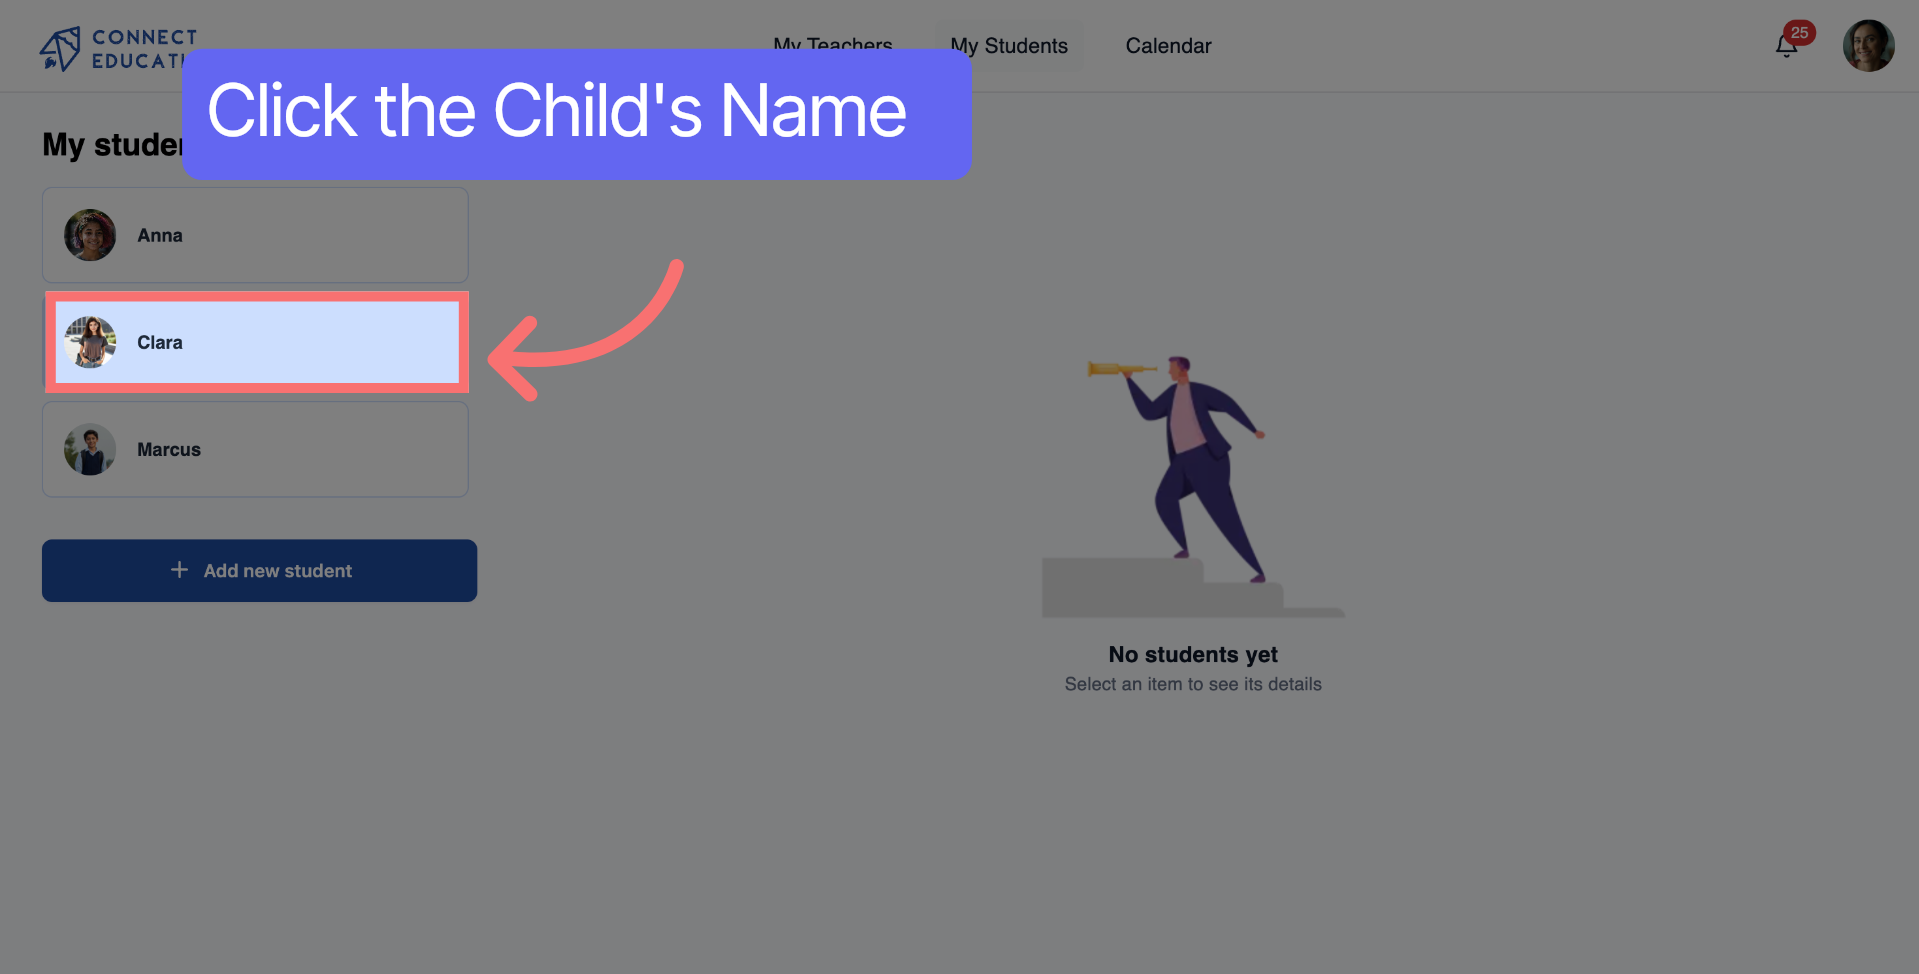
Select a student to access their profile for managing permissions.

Step 4: Initiate Student Access

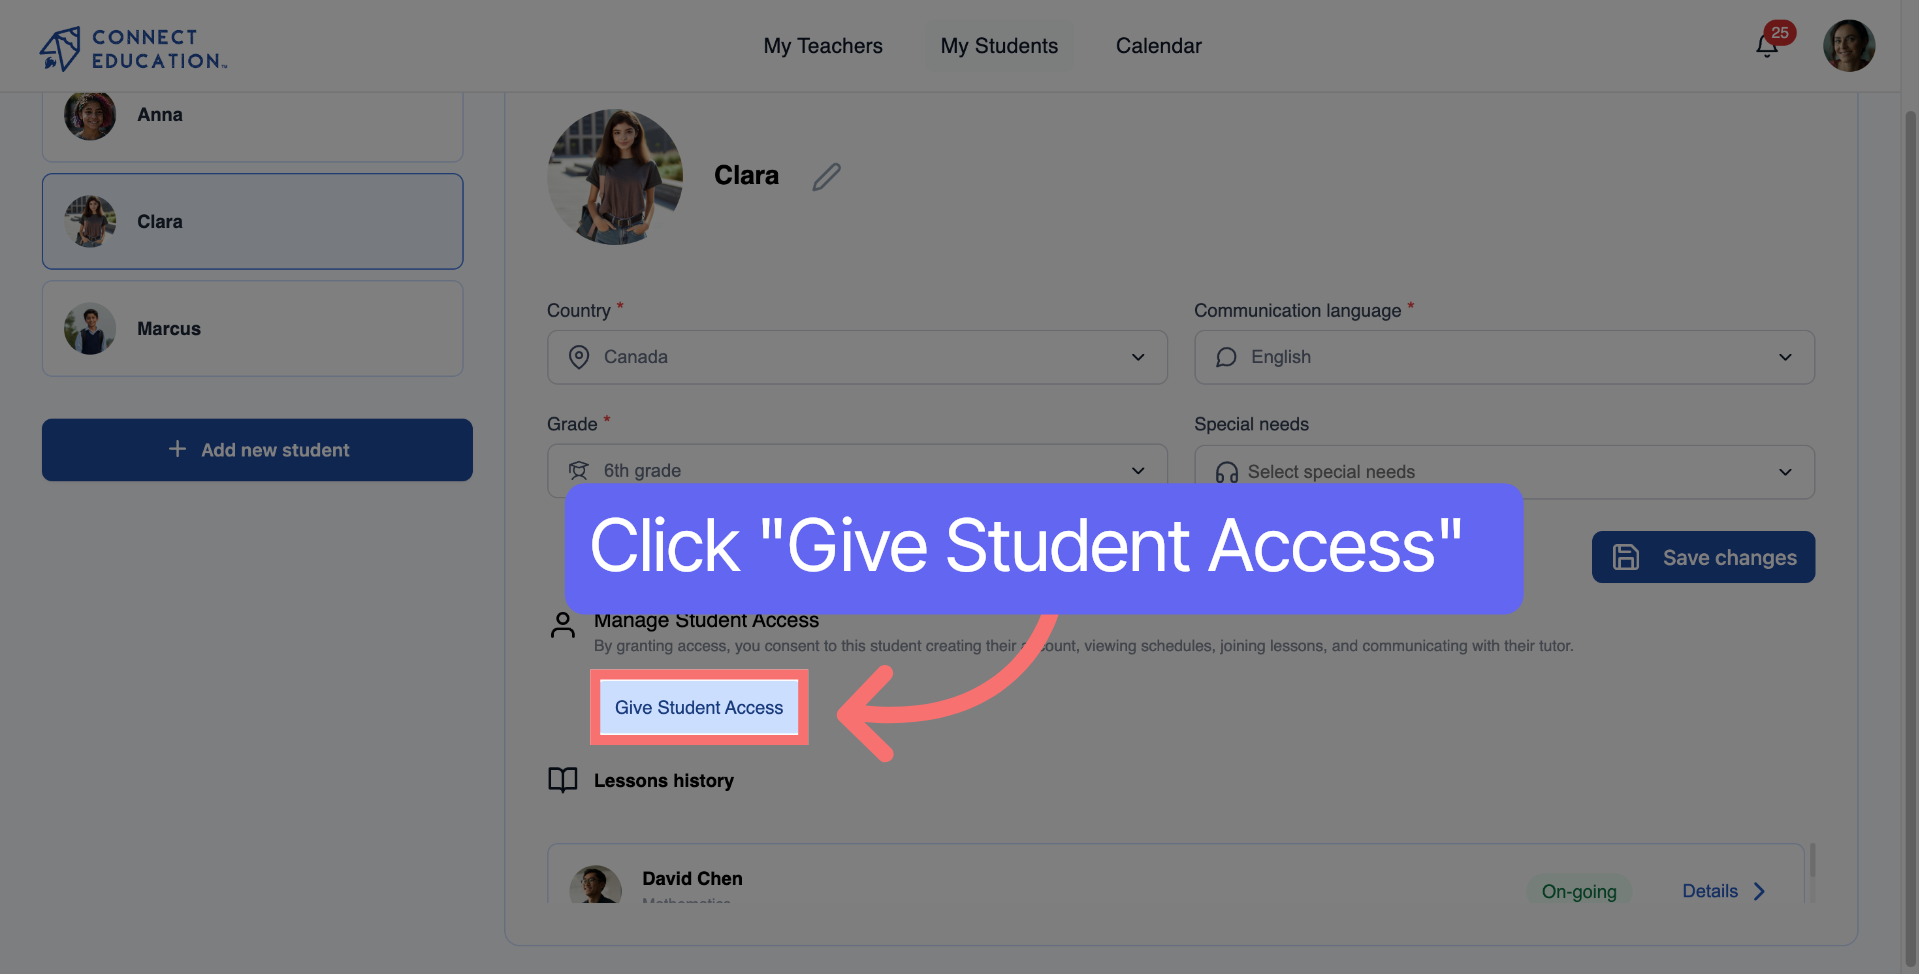
Click the "Give Student Access" button to begin granting access to the student.

Step 5: Proceed to Next Step

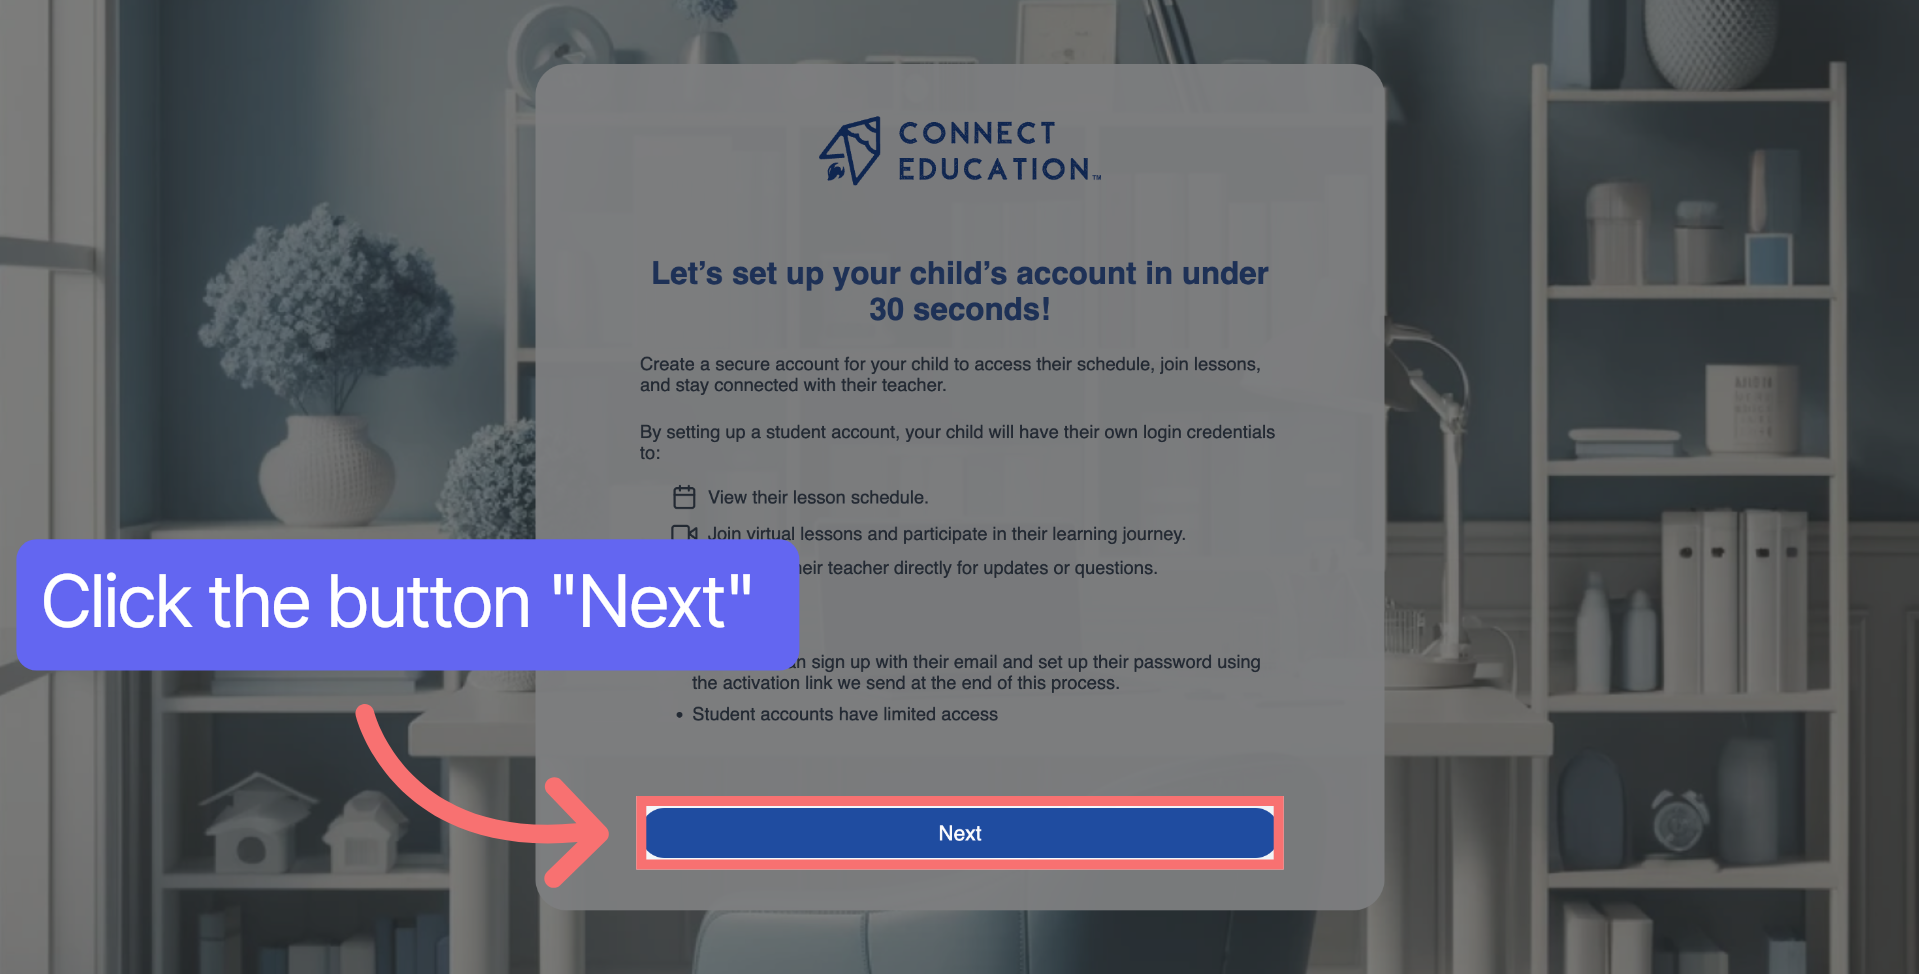
Click "Next" to proceed to the access agreement and verification stage.

Step 6: Enter Child's Email Address

Enter your child's email address to send the activation link for account access.

Step 7: Send Activation Link

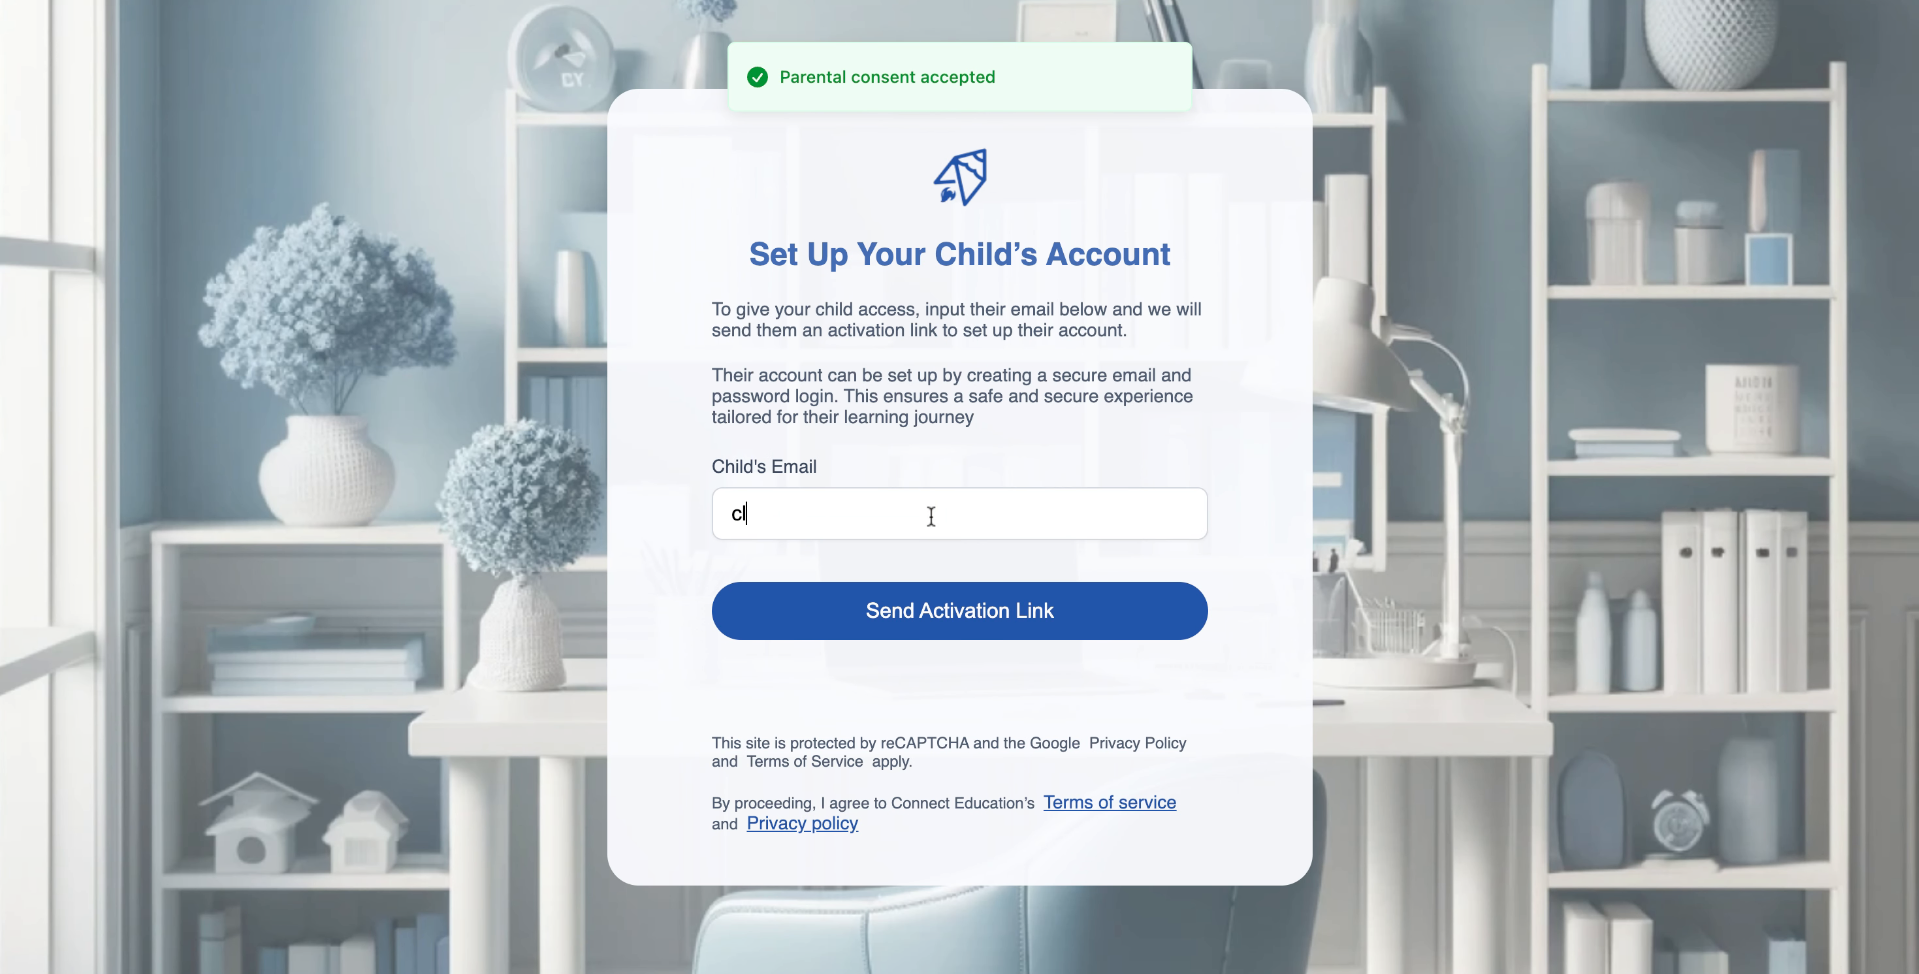
Click "Send Activation Link" to send the access invitation to your child's email.

Step 8: Verify Student Account

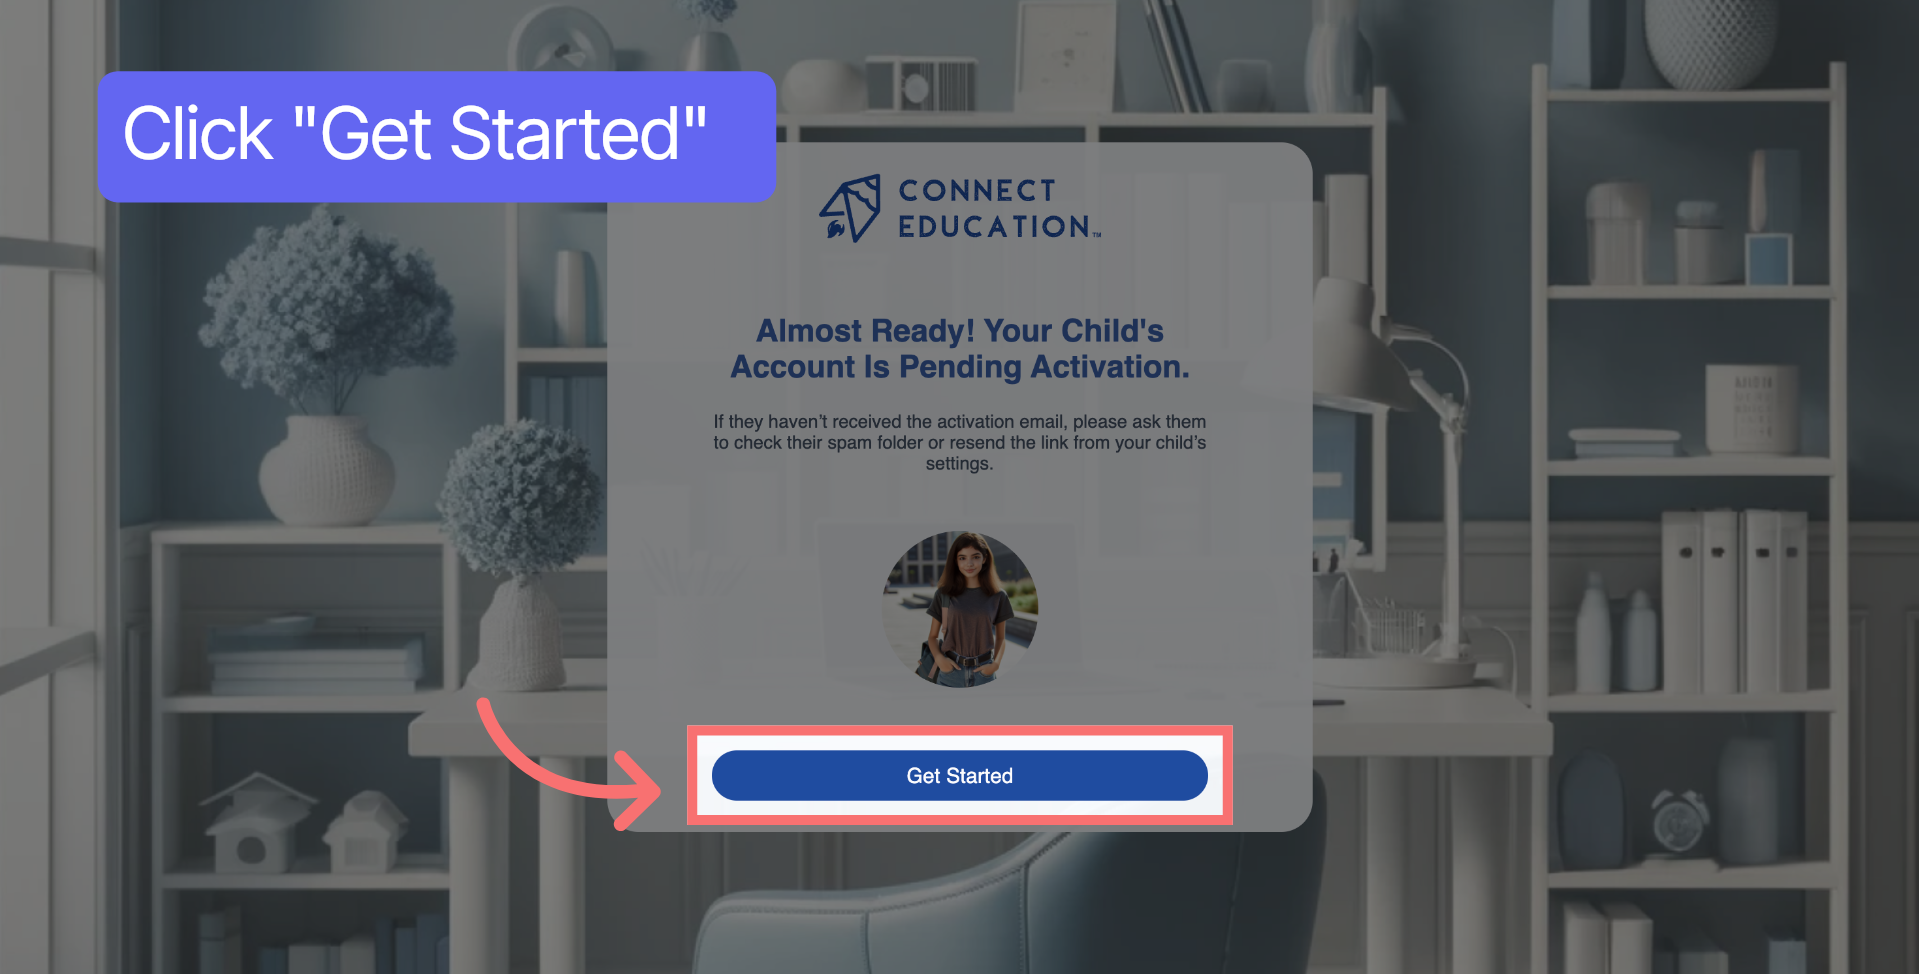
The student will receive an activation email and must follow the verification instructions. Click "Get Started" to begin the account setup process.

Step 9: Access Password Field

Click Password to open the field where you will create a secure password.

Step 10: Confirm Password

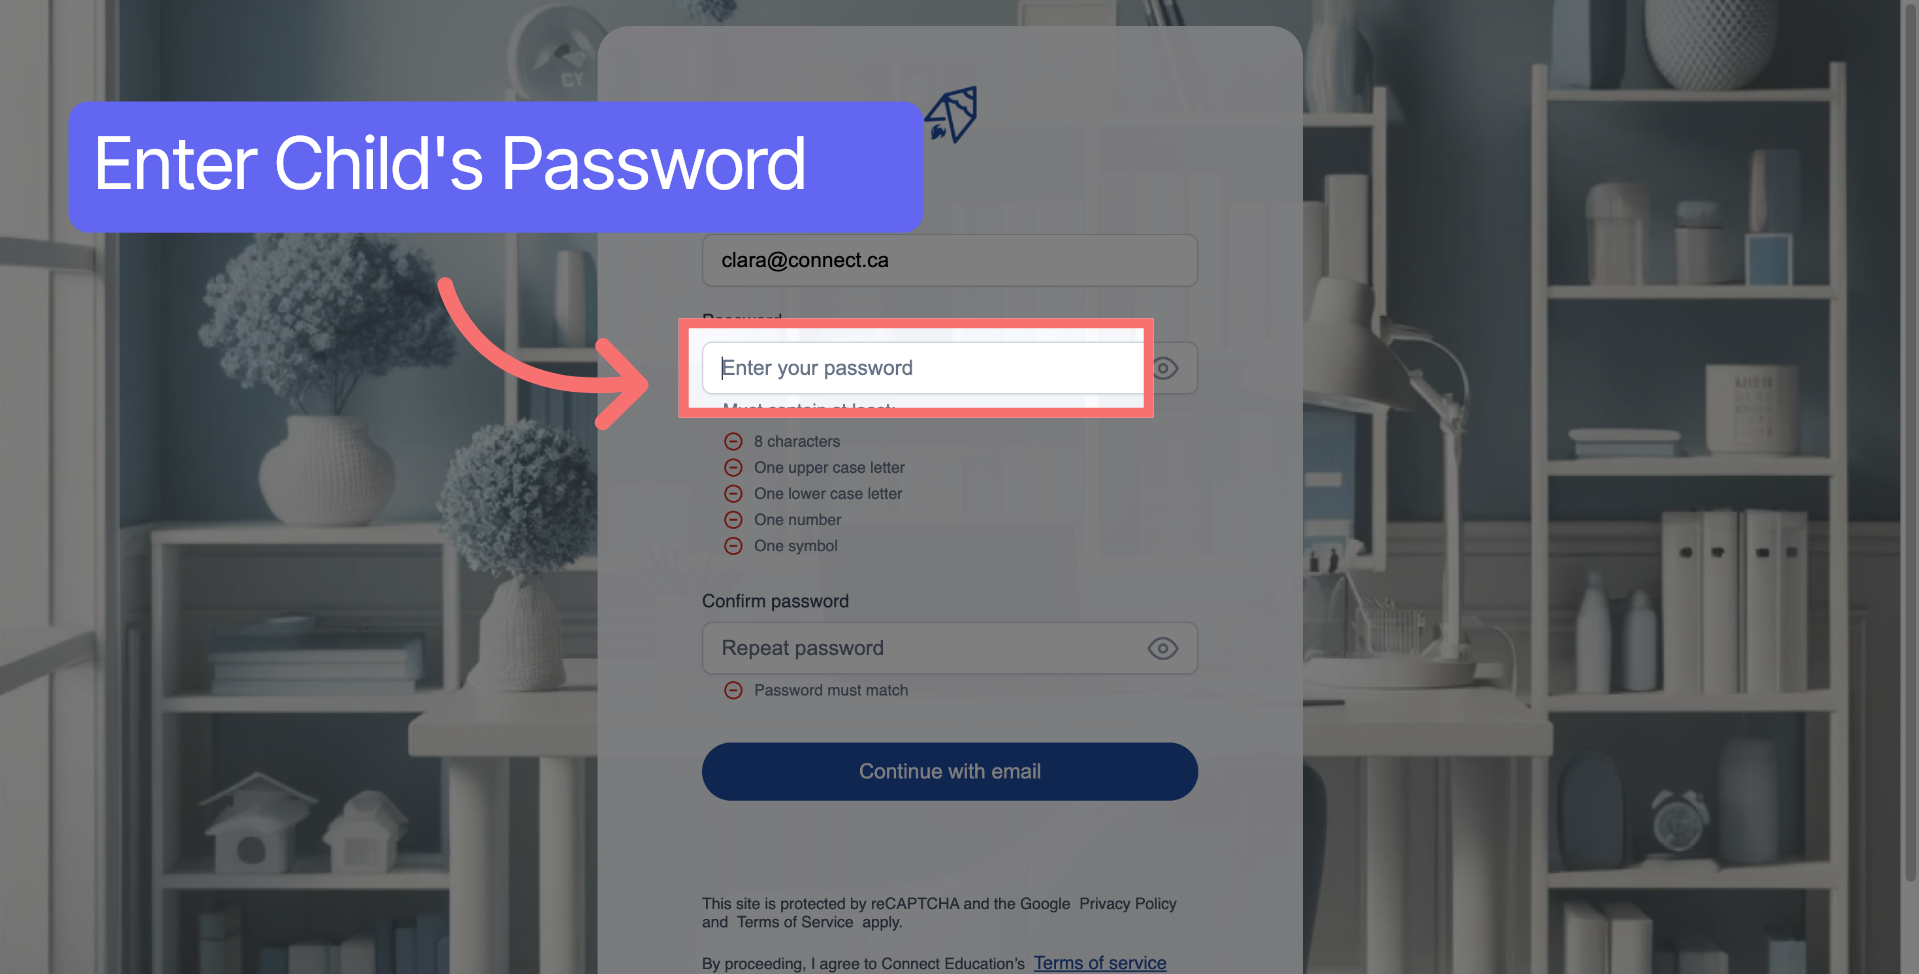
Click Confirm password to verify the password you just entered.

Step 11: Continue with Email

Click Continue with email to proceed using your email credentials for login.

Step 12: Student Account

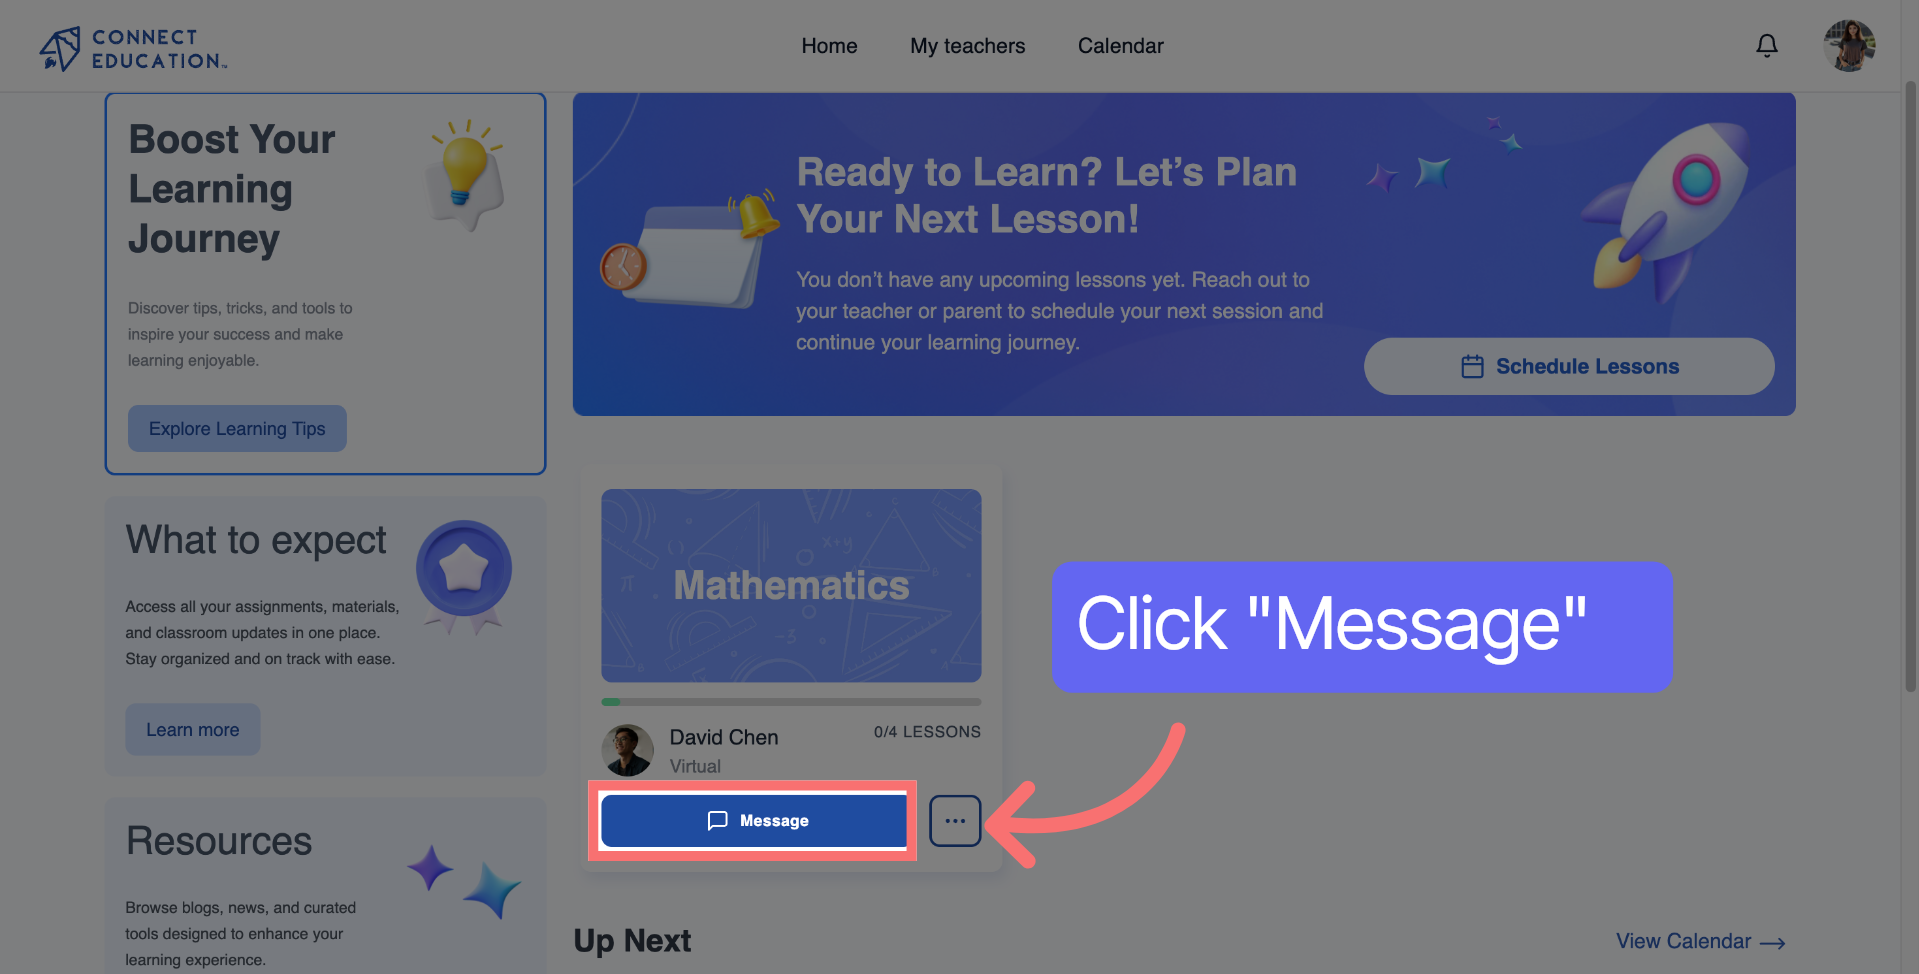
You are now logged into your student account. Click on "Message" to communicate with your teacher.

Step 13: Chat with a teacher

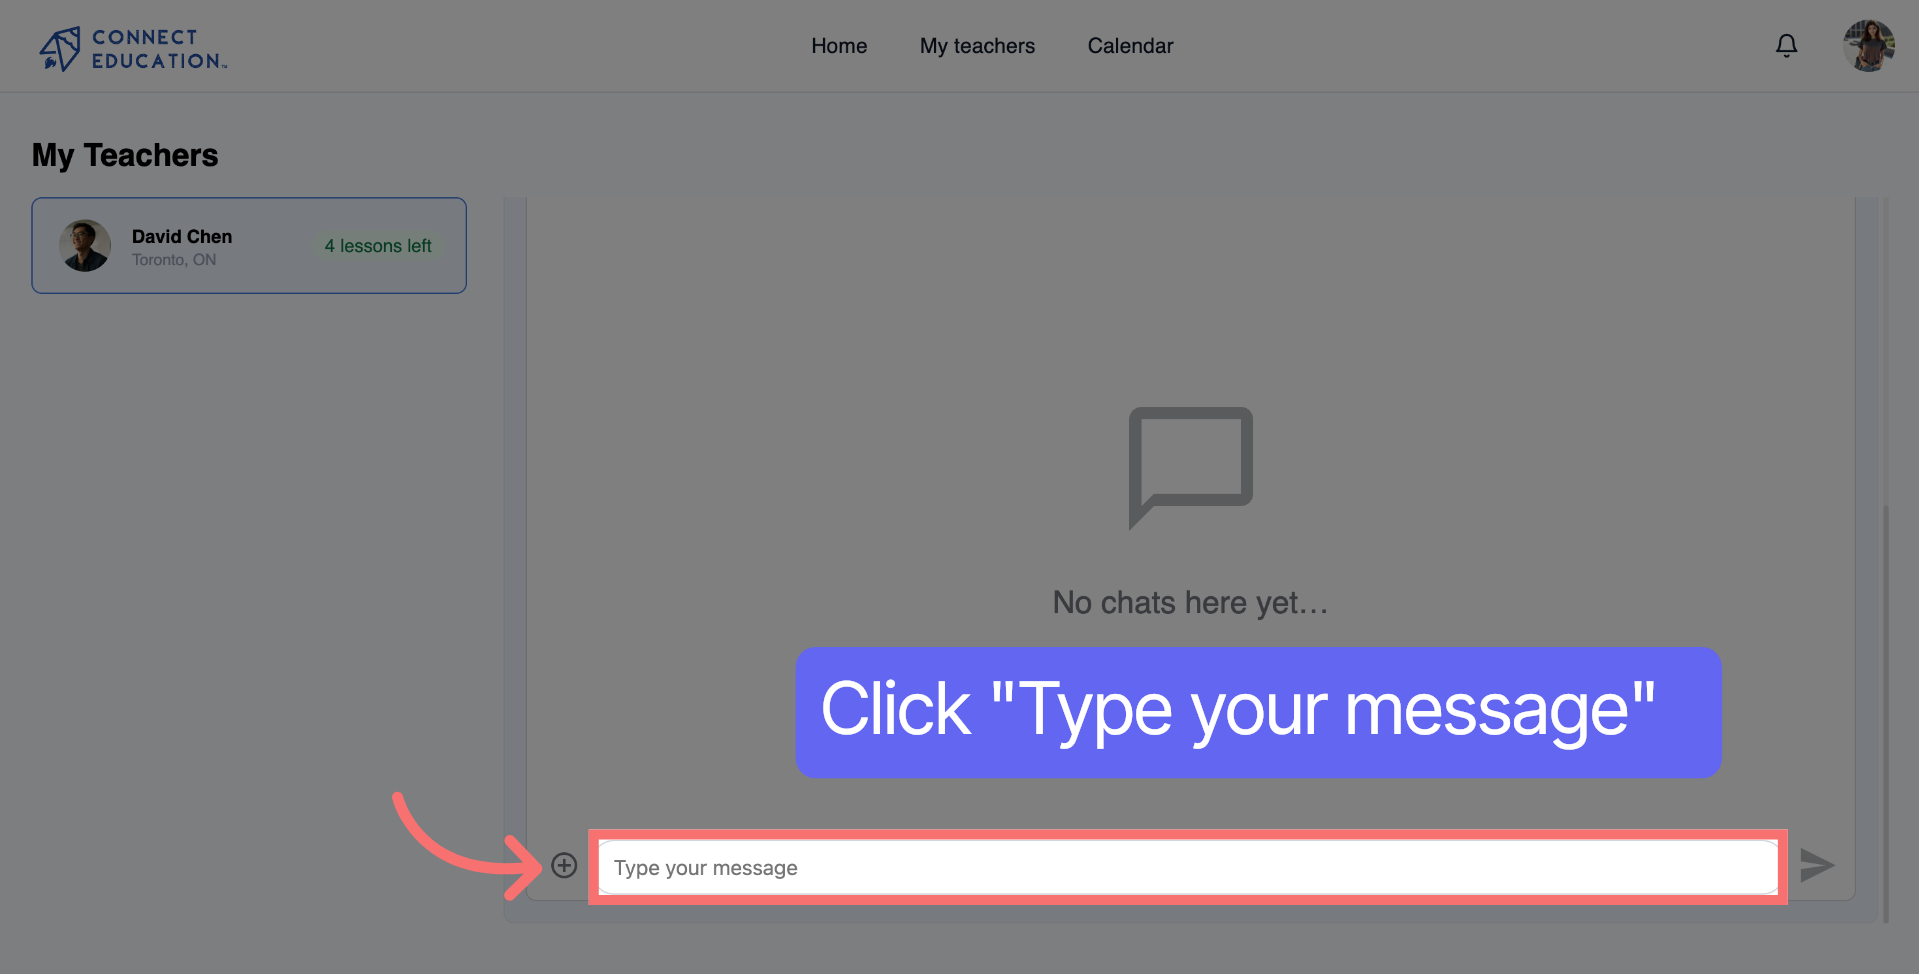
To start composing a new message, click "Type your message" to begin.

Step 14: Open Lessons Section

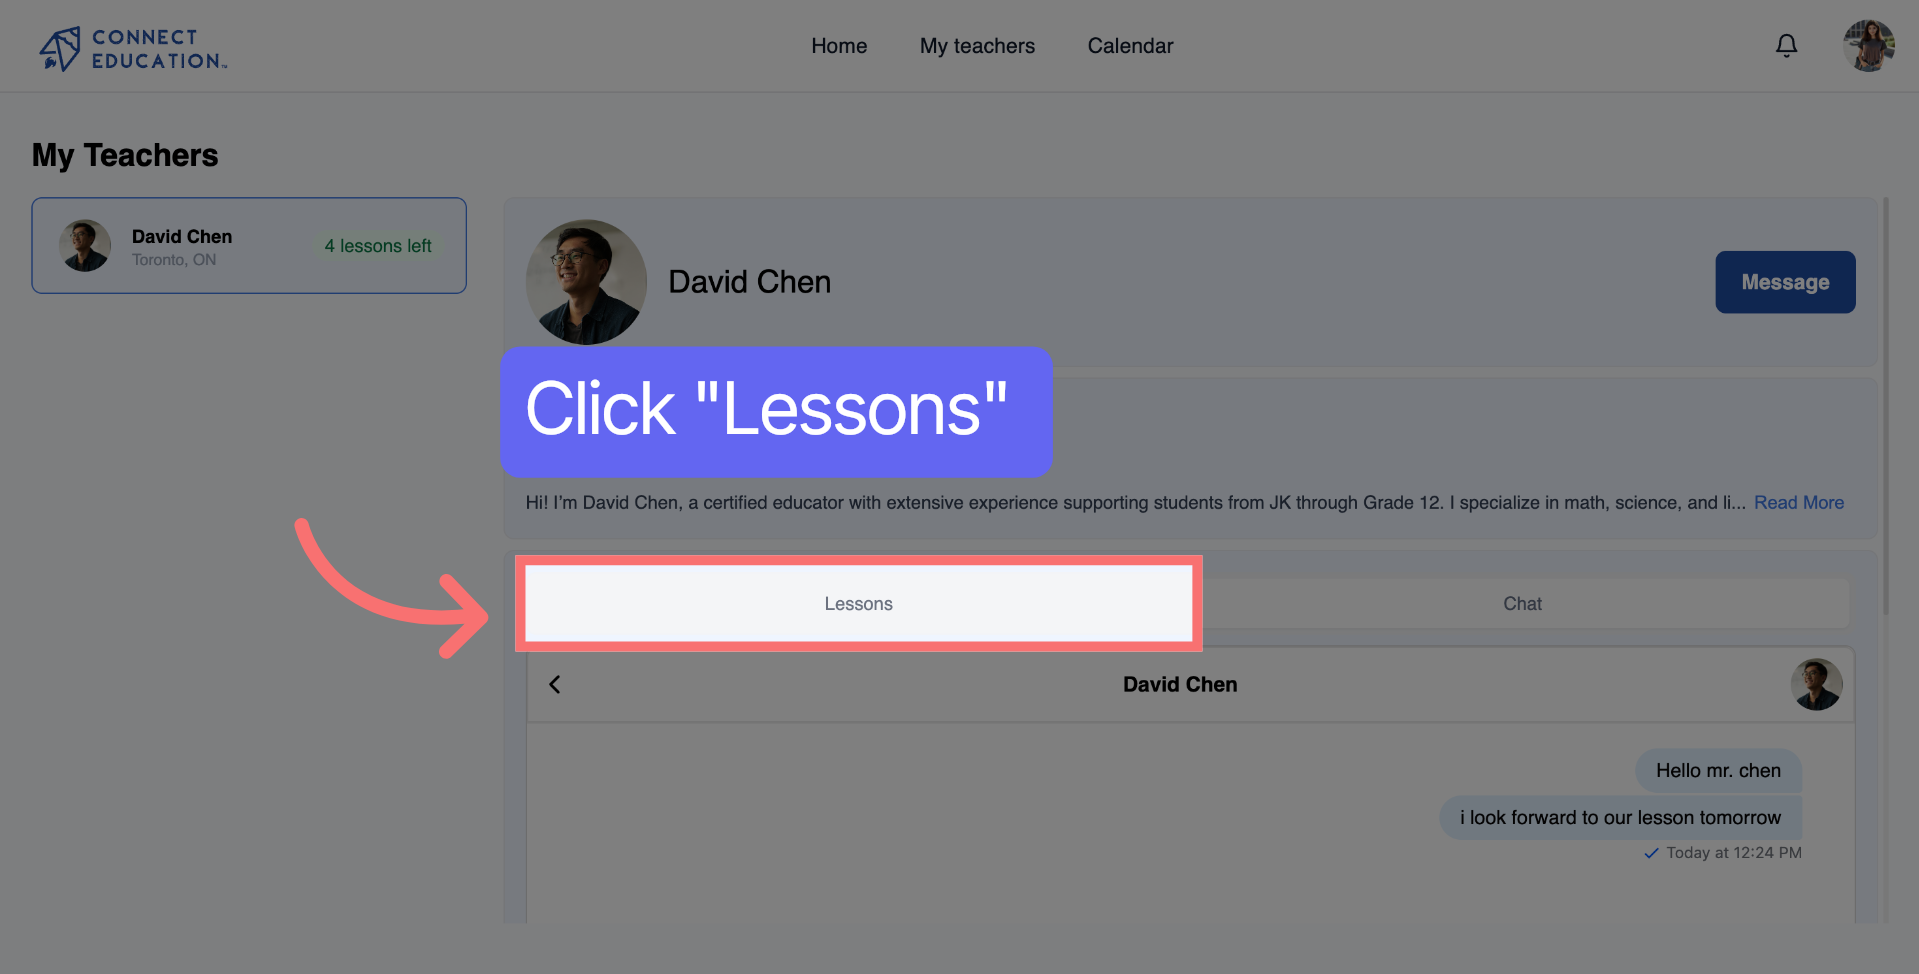
Click Lessons to view and manage lesson schedules for the student.

Step 15: Schedule a Lesson

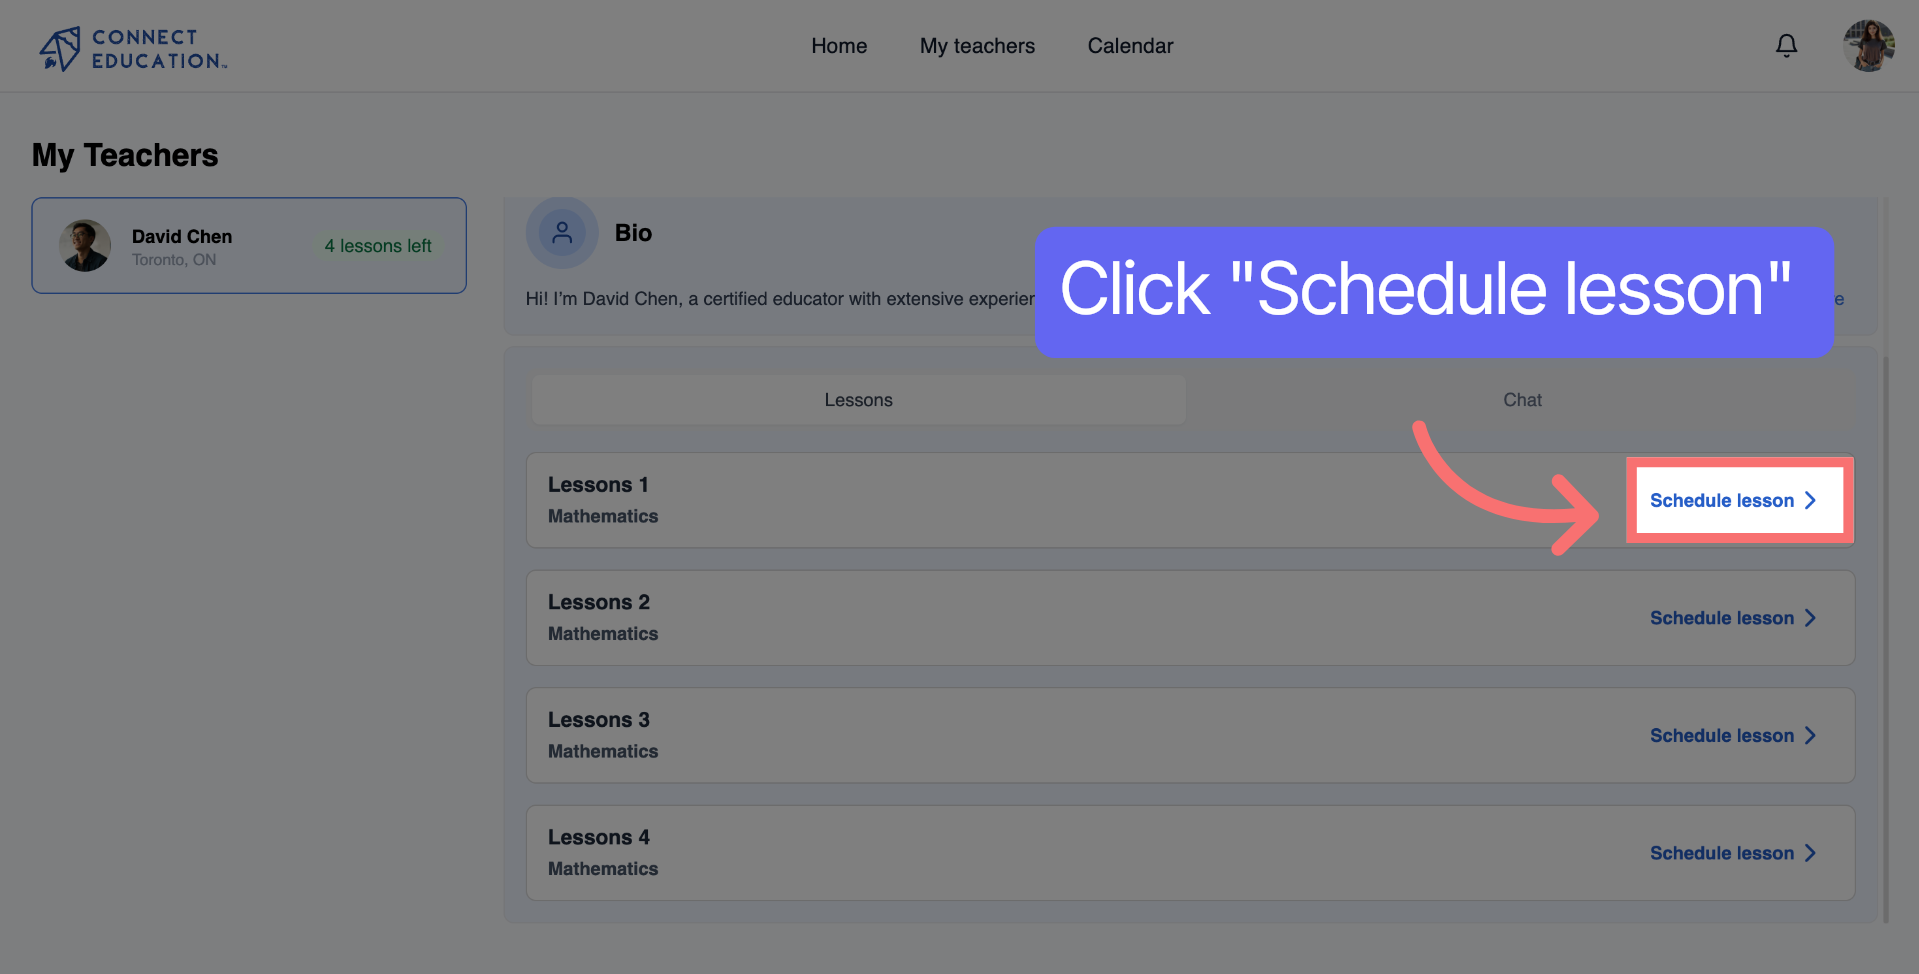
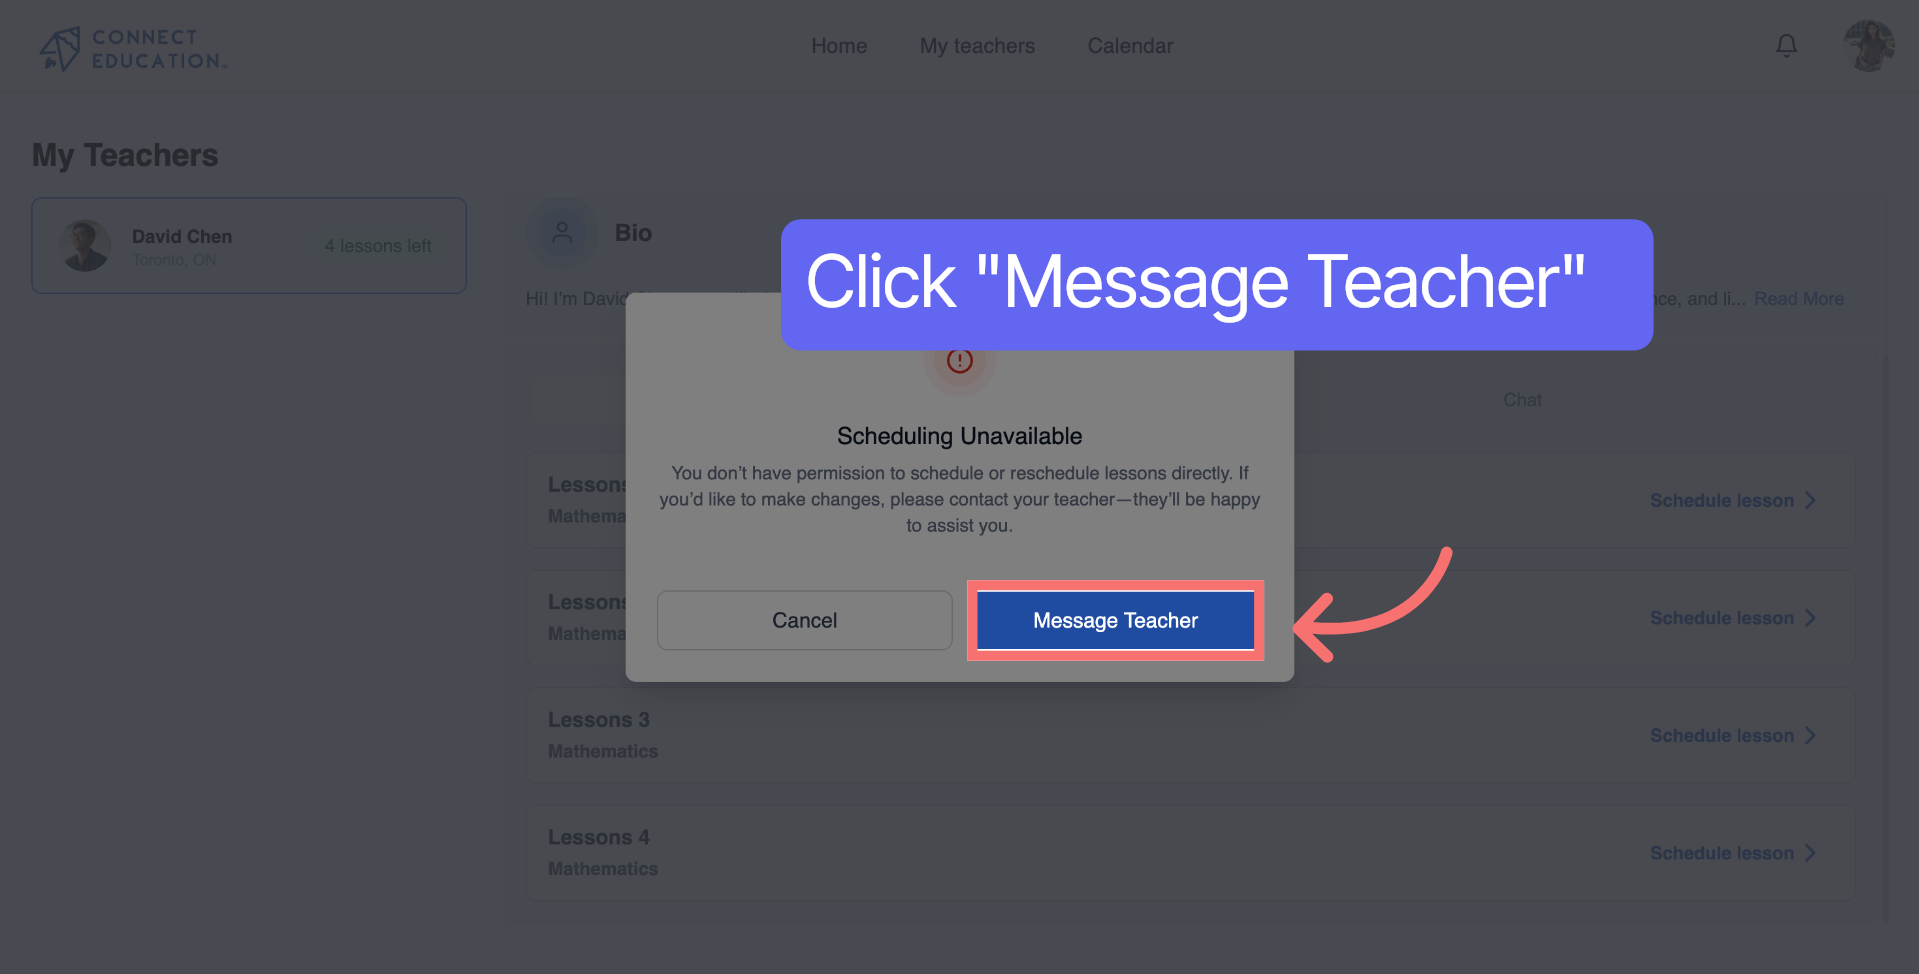
To set up a new lesson, please click on "Schedule Lesson."

Step 16: Message a Teacher

Click Message Teacher to send a message directly to the student's teacher.

Step 17: Compose Scheduling Request

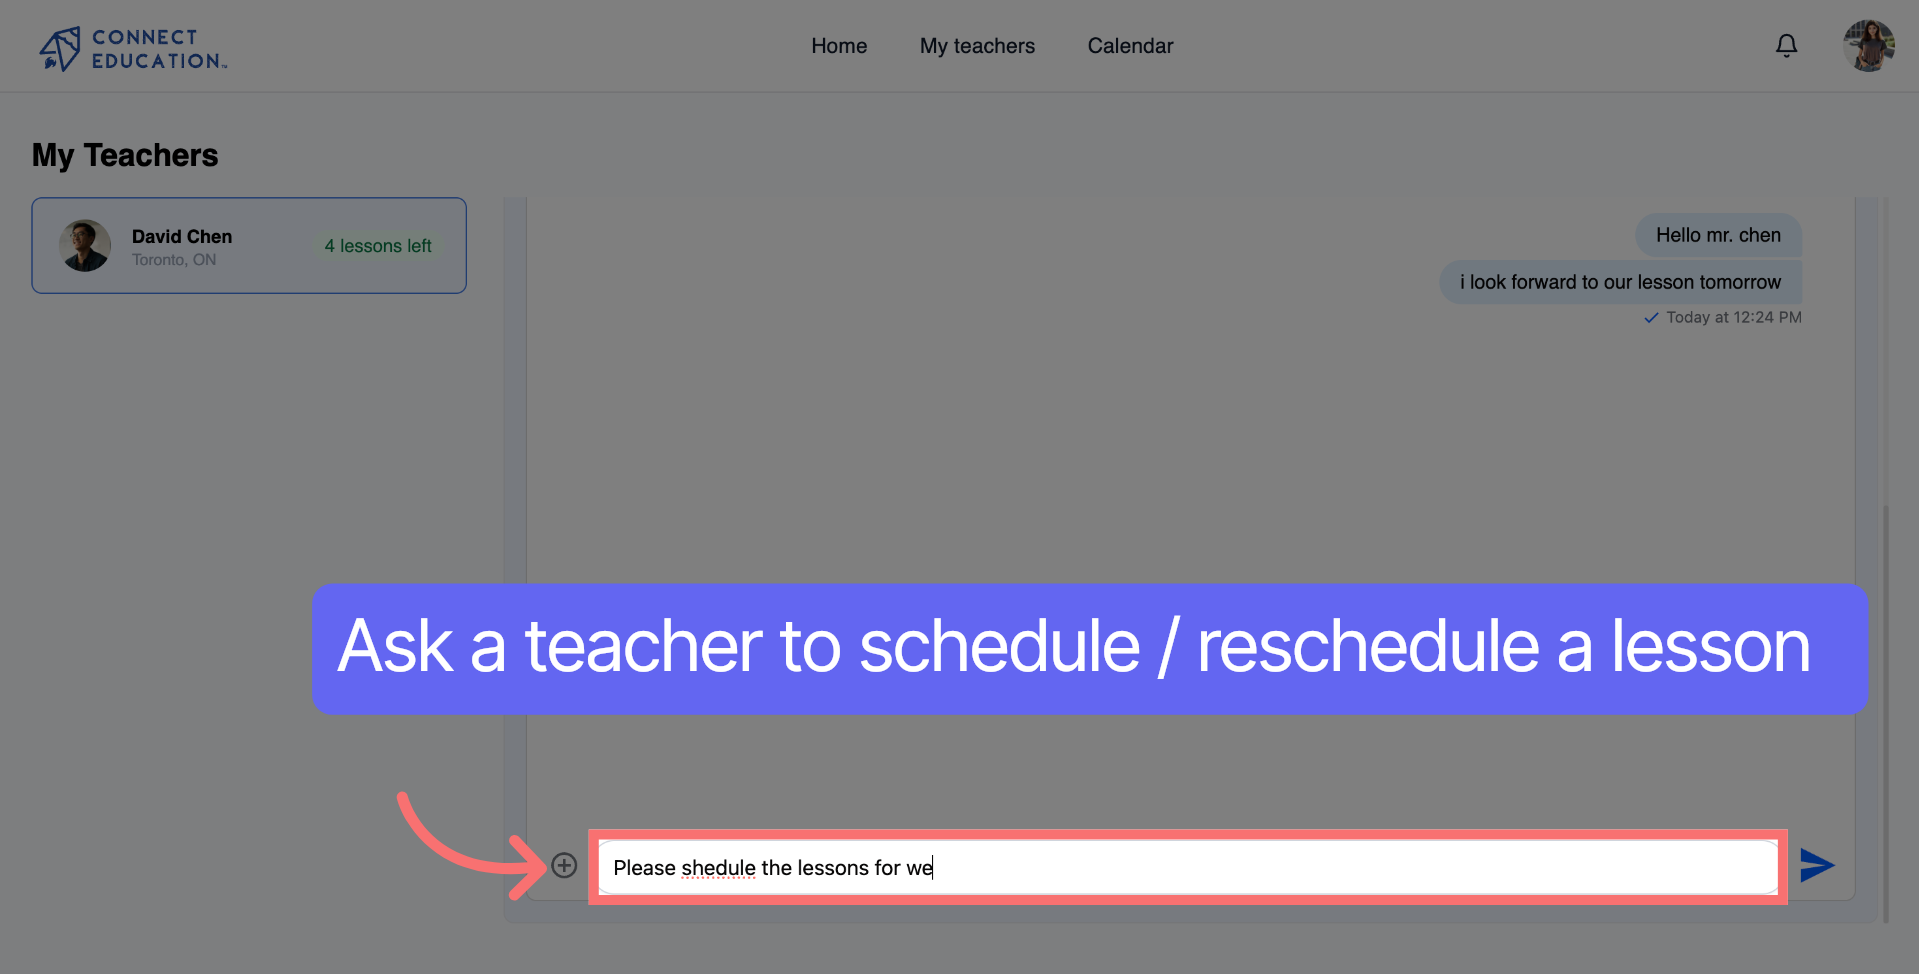
Enter a message requesting the teacher to schedule lessons on your behalf.

Step 18: Return to Home Screen

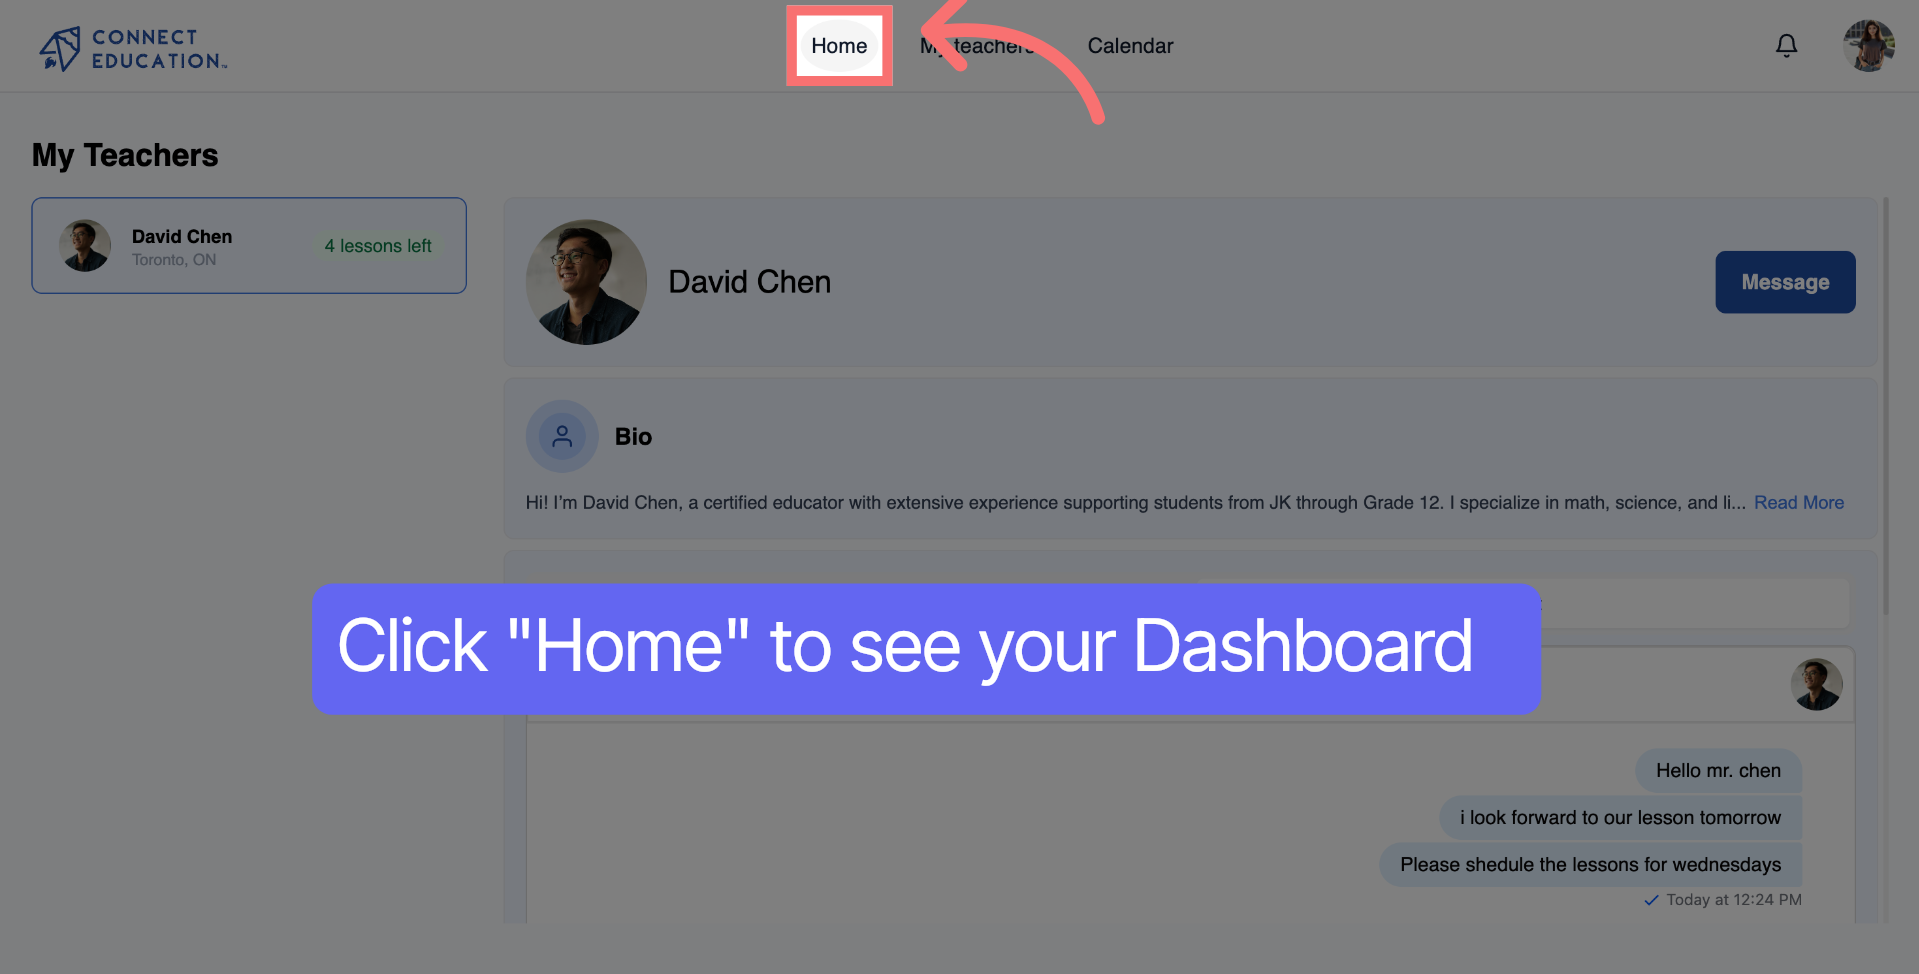
Click Home to return to the main dashboard after completing all steps.

Log In as Parent

💡Troubleshooting

Common issues and how to fix them:

  • Email Errors:
    Avoid using duplicate or invalid email addresses during student account setup.
  • Didn’t Receive the Activation Email?
    You can resend the activation link from your parent dashboard. Also check your spam or junk folder.
  • Activation Link Not Working?
    Make sure you’re logged out of your parent account before clicking the link. Staying logged in can interfere with activating a student account.
  • Child Can’t Log In?
    Go to the My Students page to check your child’s account status. If their access is disabled, you’ll see it noted there.

Additional Resources for Your Success