

Welcome to Connect Education!
Step 1: Enable Access from Your Parent Dashboard
To get started, ensure your child is part of an active or completed contract in your Connect Education dashboard.
Follow these steps:
- Go to the My Students page.
- Find the “Manage Student Access” section.
- Click the button “Give Student Access".

Parental Consent:
- Review the student access terms.
- After reviewing the "Parental Consent", scroll to the bottom of the page and check the box to confirm your consent.
⚠️ This step is required to activate your child’s student account.
Enter Student Email:
- Use your child’s unique email (not your own).
- Ensure it hasn’t been used previously on another account.
An activation email will be sent to your child to set up their account.
Step 2: Student Account Activation
Here’s what your child will do:
- Open the activation email.
- Click the button "Activate Your Account"

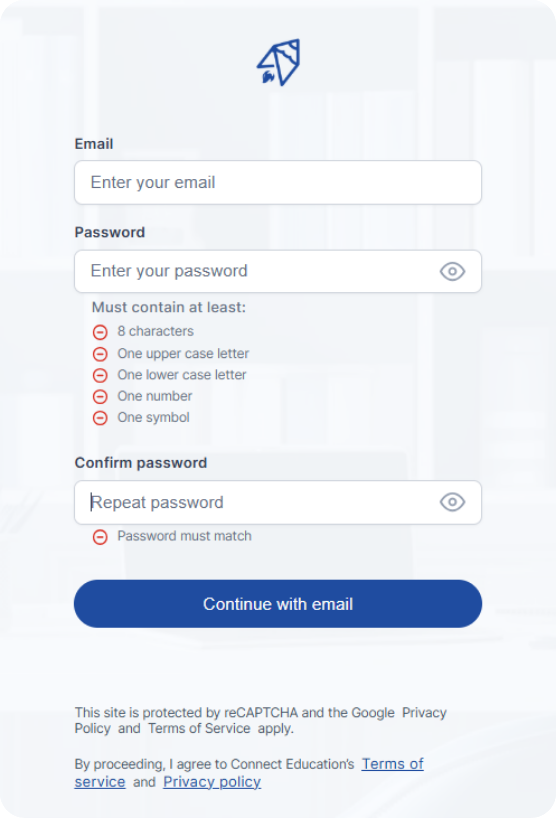
- When your child selects "Activate Your Account" they will then be sent to a page to create a secure password to complete the setup.
⚠️ Attention: If you're using the same device where your parent account is logged in, make sure to sign out first before clicking the Activate Your Account button in the email. This ensures the student account activates properly without conflicts.
Step 3: Student Account Activation
Your child now has their own student dashboard where they can:
- View upcoming lessons and class times
- Access their calendar to stay on track
- Browse helpful learning tips
- Message their teacher directly
- Explore curated resources and classroom updates
This personalized space helps your child stay engaged, organized, and connected to their learning journey.

Once access is granted:
- The “Give Student Access” button in your dashboard will change to “Student Access Enabled”
- You’ll see your child’s email address and account status listed.
To disable access:
- Click “Disable Student Access”

💡Troubleshooting
Common issues and how to fix them:
- Email Errors:
Avoid using duplicate or invalid email addresses during student account setup. - Didn’t Receive the Activation Email?
You can resend the activation link from your parent dashboard. Also check your spam or junk folder. - Activation Link Not Working?
Make sure you’re logged out of your parent account before clicking the link. Staying logged in can interfere with activating a student account. - Child Can’t Log In?
Go to the My Students page to check your child’s account status. If their access is disabled, you’ll see it noted there.